Published by: Guillaume Martin — Editor in Chief
Updated on 23 March 2026
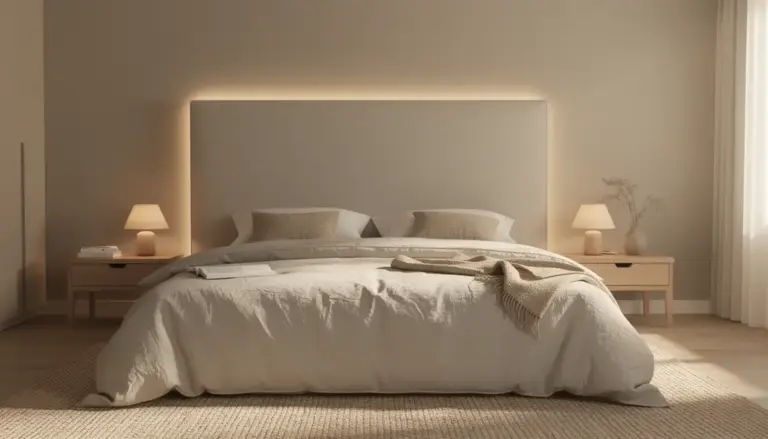
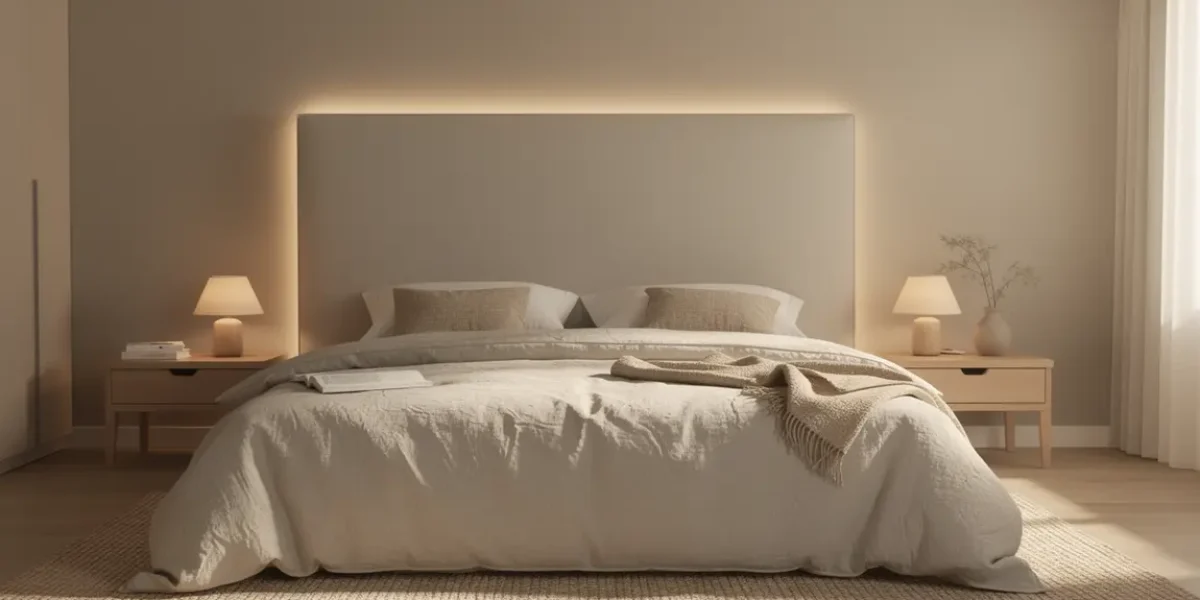
You are considering installing a light headboard but you lack the benchmarks to get a really aesthetic and functional result? This guide offers you concrete methods adapted to demanding designers, from the choice of materials to customization, to transform your room and progress in your DIY practice.
Contents
Why choose a bright headboard to transform your room
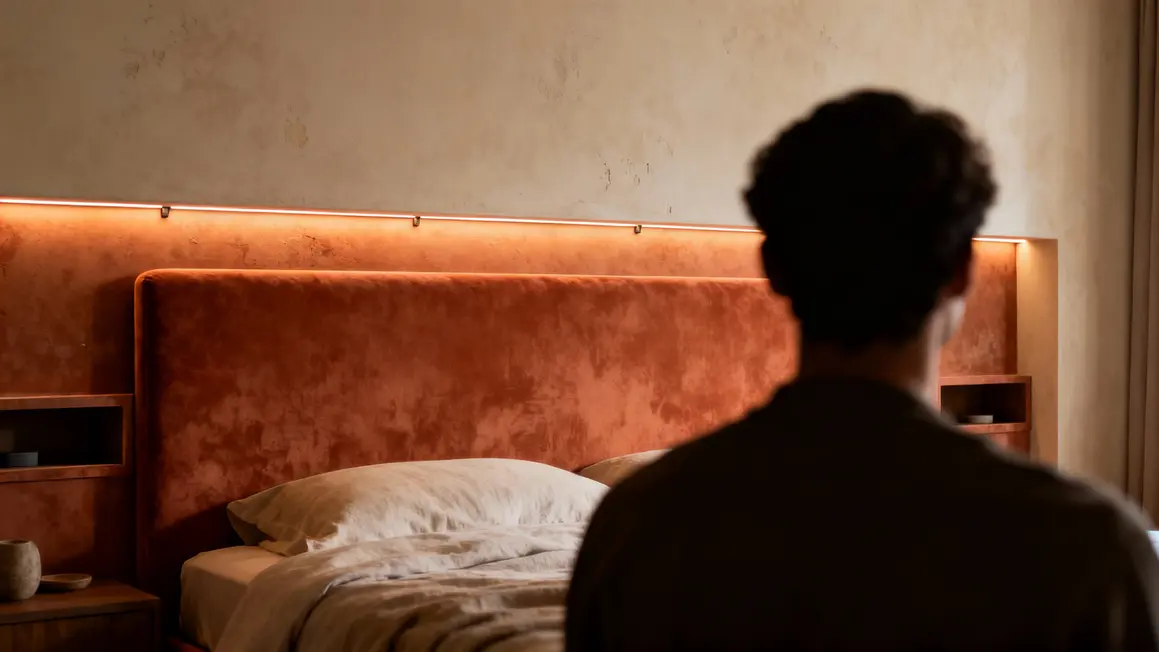
A bright headboard offers much more than a decorative element: it acts as a real lever to transform the atmosphere and use of the room. Integrate this type of installation is to affirm a style while enjoying a flexible booster lighting and comfortable.
Visually, the use of indirect light softens the room and promotes well-being. Favour warm tone LEDs (about 3000K) for a relaxing room and adapt the rendering with natural materials such as velvet or jute. Work on the contrasts between texture and light, especially with colors like terracotta, maximizes the soothing effect and structure your space without decorative overload. For contemporary projects, the XXL and enveloping shapes accentuate the impression of comfort while focusing attention on this unique piece.
- Modular light : ideal for reading, relaxing or working smoothly.
- Functional aspect : Rationalisation of space, some models even include discrete storage.
- Aesthetic impact : the headboard becomes the visual anchoring point of the bedroom.
Materials and equipment to succeed your light headboard
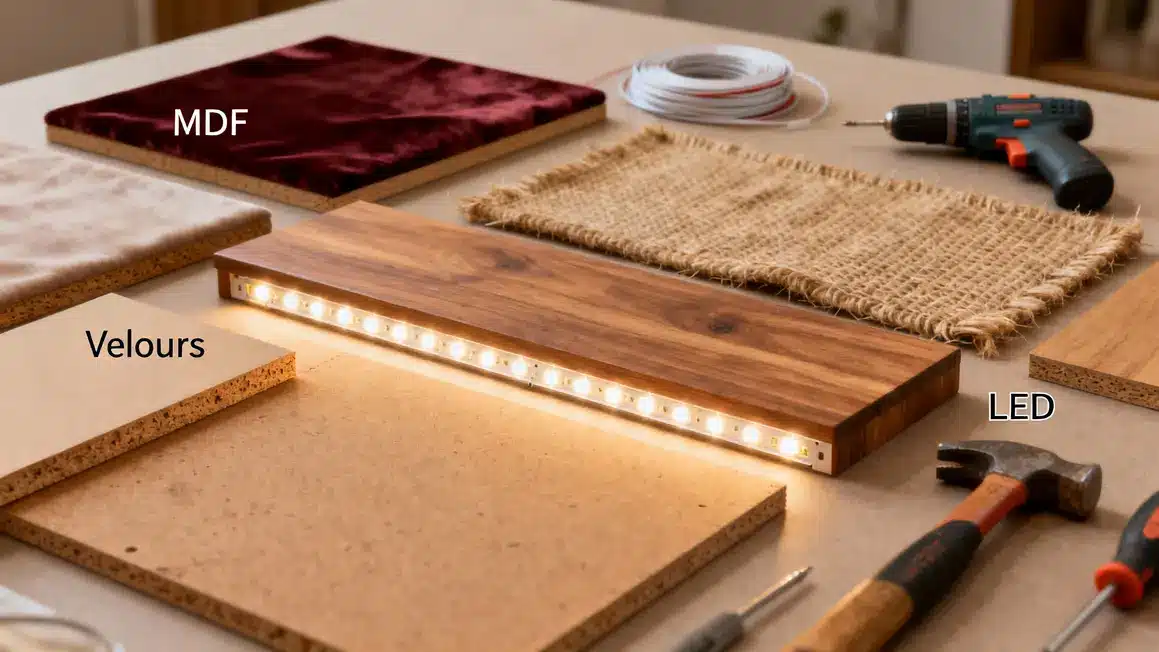
The choice of materials determines both the durability, aesthetic rendering and cost of your project.
- Structure : MDF wood (easy and economical) or solid wood (more robust and aesthetic).
- Coatings : velvet brings a luxurious touch, jute canvas plays the nature map, and linen lends itself to soft atmospheres.
- LED dimmable with diffuser to obtain a homogeneous and non dazzling light.
| Material | Estimated cost | Sustainability | Aesthetic |
|---|---|---|---|
| MDF | 20-40 € | Average | Basic |
| Solid wood | 50-100 € | High | Natural, Chic |
| Velvet | 15-25 €/m2 | Average | Luxurious |
| Jute | 10-20 €/m2 | Good | Rustic |
| Dimmable LED strip | 20-50 € | Very good | Modern |
For equipment:
- Drill, screw, meter, glue adapted wood/textile
- Wall brackets and sturdy fasteners
- Soldering iron (for LEDs to connect yourself)
Always ensure electrical compatibility and installation safety, avoiding any exposure to moisture.
Key steps to make a light headboard
- Prepare materials : light sanding of the wood, sharp cuts, precise tracing (predict 10-15 cm of overflow each side for an enveloping effect).
- Assembly structure : screwing of panels, reinforcement with metal squares, addition of niches if needed.
- Install LEDs : glue or screw the strips, attach a diffuser, check the color temperature (2700K-3000K), secure the wiring.
- Finishes : installation of textiles, glue or staple, complete test of strength and light.
To optimize the rendering, slightly orient the LEDs inwards or overlay a second layer of diffuser to soften the light even more.
Personalization and decorative tricks
- Rounded XXL shapes to accentuate the cocoon effect
- Palette terracotta/lin/jute to warm the atmosphere
- Integrated niches or shelves for the practical side
- Pattern sets (laser cut or painted) for graphic and original rendering
- Connected LED to change atmosphere instantly
The example of the guest room equipped with a painted rattan and LED emphasizes that a good effect does not depend on technical complexity, but on the consistency between idea, materials and finish. Test, adjust, dare over time: this is the method that distinguishes a Custom project from a simple Tuto copied.
Maintain and last its luminous headboard
- Wood: microfibre cloth, black soap for stains.
- Textiles: vacuum cleaner with soft brush, textile foam for velvet, diluted bicarbonate for jute.
- LED strips: dust removal, visual inspection of watertightness, regular checking of wiring (especially close to sockets or in humid atmosphere).
| Materials | Maintenance methods | Frequency |
|---|---|---|
| Solid wood | Microfibre cloth + black soap for tasks | Once a month |
| Velvet | Vacuum cleaner soft brush + textile foam | Once a month |
| Jute | Vacuum cleaner + dilute bicarbonate | Once a month |
| LED bands | Dry hair + leakproofness check | twice a year |
Check the safety of connections during each cleanup and act quickly in case of a decrease in light or sparkle.
For DIY decorators, combining a light headboard with a wooded creation can be as satisfying as it is for the make a TV holder with pallet: creative tutorial and easy to make.
For a harmonious interior, combine your luminous headboard with DIY ideas like those presented in our guide on dress up a wall with a palette for TV support: DIY ideas and tips.
Think about checking electrical compatibilitys to avoid anything LED halogen bulb replacement problem: causes, solutions and best practices when installing your light headboard.
Common questions on lightheads
- What budget? Of 50 € (DIY entry range) at 300 €, depending on material and equipment.
- Ideal temperature? LED between 2700K and 3000K for a cosy atmosphere.
- Sustainable materials? Solid wood for robustness, jute for originality, MDF for economy (provided it is well varnished).
- Ease of assembly? Self-adhesive LED strips and pre-cut kits facilitate the task of non-drinkers.
- Energy savings? LEDs consume very little (less than 10W/m).
- Moisture problems? Minimum IP44 index for LEDs and recommended anti-wetting treatments for wood/textile.
Many amateur designers have evolved quickly starting with the home-made light headboard before approaching more advanced projects in space management or custom lighting design. It is a relevant first step to structure his approach and dare transform his room according to his style.
To deepen, ADEME's recommendations or practical dossiers from Maison&Travaux magazine provide useful complements on electrical safety and responsible LED choices.
Have you tested a method, a material or developed a malinous trick? Tell your experiments in the comments: Your return will help the community refine its choices and avoid some pitfalls. Share this article with your loved ones or on your networks if you have found these effective tips to advance your DIY projects.
To which themes do you want to go next: design of creative spaces, light tips, storage optimization? Let us know your ideas below so that future content fits your needs.
Article written by Guillaume Martin, trainer at guyomcorp.com.
Updated: June 2024.
Updated on 23 March 2026